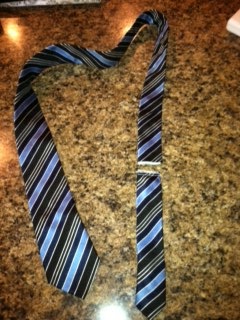
My new favorite trend is recycled ties and all the fun things you can do with them. I have a couple of things I want to try with them but recently made a few bracelets. Friends wanted me to post how I made them so here it is!

Luckily, this is one item that your local D.I. will always have a heavy supply of, and are priced at $2.00 a tie.
Being the thrifter (some call it 'cheap') person that I am, I thought, $2.00 for one bracelet?! And looked into other ways I could use the same tie and get the most use out of it. With one STANDARD tie, I have found that you can use the skinny end (the part that is hiding when tied) and make that into a bracelet-and use the remainder of the tie to make a iphone holder! WAHOO! Let the projects begin!
Tie Bracelet
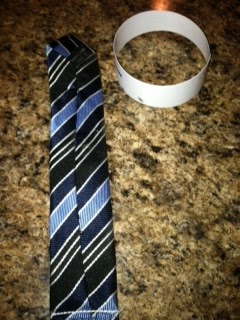
First pick your tie! Measure the distance around your wrist and add about an inch for overlap and a half inch for hemming. I cut mine at 7 1/2in". The picture shows the end already surged with a surger sewing machine. (I would actually recommend NOT doing this-the ends are white and easily seen). I would say using a simple whipstitch would be best with a color of thread closest to the color of your tie. Sew the end of your tie to keep it from fraying.

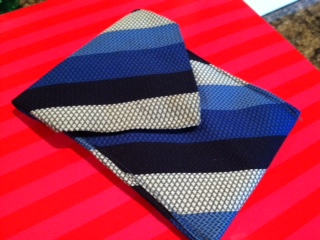
Here is the tie and strip I cut.

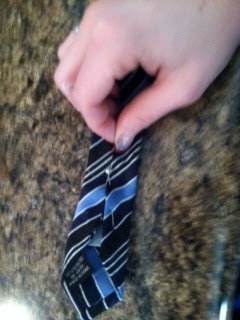
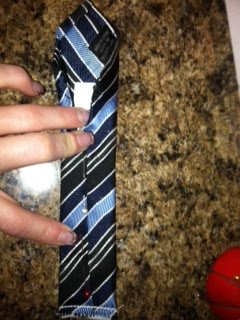
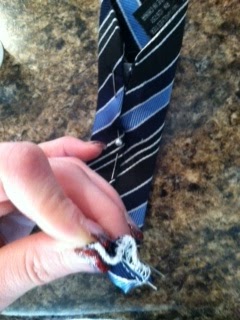
I pinched the ends of my tie and took a simple stitches around to keep it pinched (this will make it easier to hide my white surged ends). You will probably not have to do this, if you didn't surge your cut of end like I did.
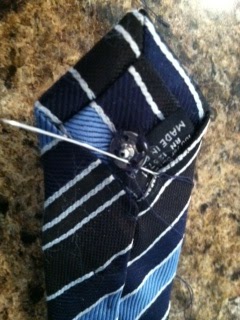
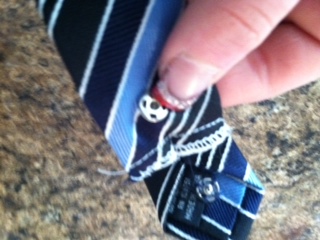
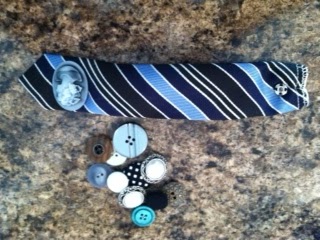
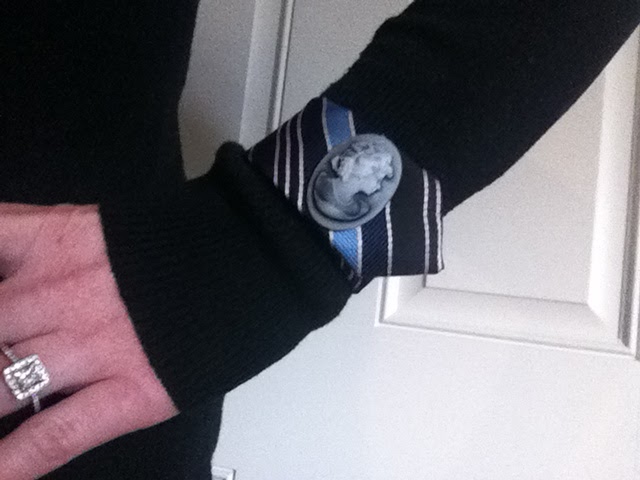
Knot this thread after sewing on. Pick a button that you like. I found this cool vintage in place of a button among my mom's craft stuff (she's a gem). Since it is not a button, I used super glue to keep in place. (Sorry its upside down!)
You are done! Now you have a fun tie bracelet!
Here are a few I've made. For skinnier bracelets, I've just used the same steps but made them out of "skinny ties". The thinner ones in the picture are made out of skinny ties. They make fun gifts!

I was amazed at how easy it was to make. Of course, I got so excited that I forgot to take the step-by-step pics. Here are some pics of the wallet.
I think that a "girly" version I will be making soon for myself will include a small hand strap so I can take it with me when I'm somewhere where I don't want to bring my whole purse! Oh Pinterest. How I love you.

Cute Keesha!! We seriously should do a craft night soon - those bracelets are darling.
ReplyDelete